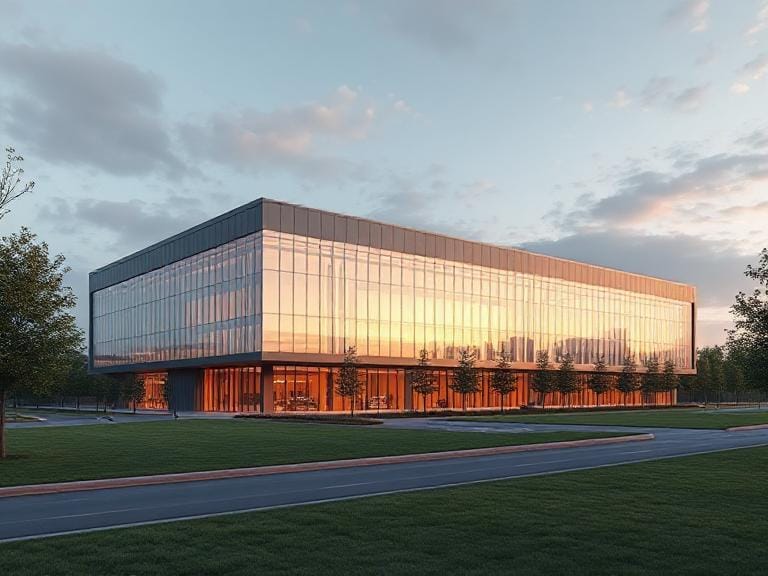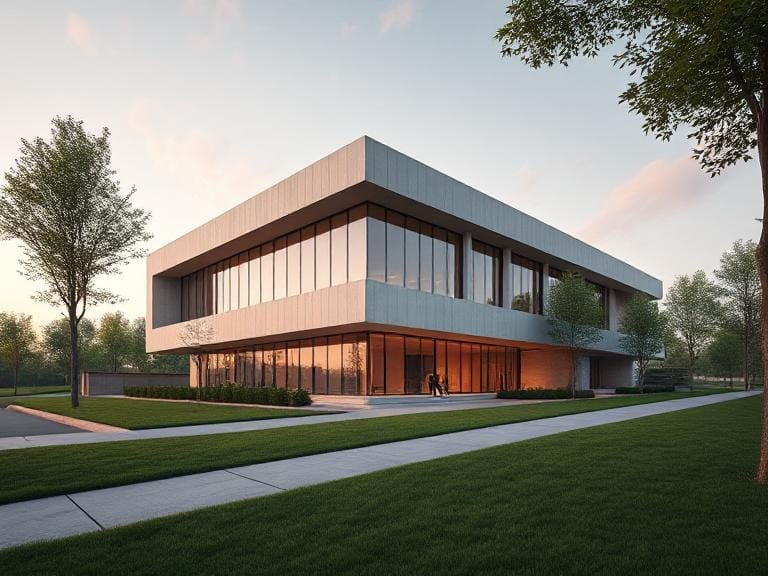

Using Power Washing to Prepare Your Home for Painting
Surface preparation is an essential step in the painting process, often overlooked by homeowners and DIY enthusiasts alike. This critical phase directly influences the quality and longevity of the paint application. Before applying new paint, it is vital to ensure that surfaces are clean, smooth, and primed for adhesion. Inadequate surface preparation, such as failing to remove dirt, mildew, or loose peeling paint, can lead to numerous issues, ultimately affecting the finished look and durability of the paint job.
Dirty surfaces pose a significant challenge to achieving good adhesion. When dirt and grime accumulate on exterior walls or trim, paint cannot bond effectively to the surface. This lack of adhesion may lead to unsightly bubbles and eventually result in peeling or flaking paint. Similarly, the presence of mold or mildew can create not only cosmetic problems but also serious issues related to health and structural integrity. Thus, ensuring surfaces are free from contaminants is crucial for a successful paint job.
Moreover, the presence of old paint layers can complicate the process. If existing paint is cracked or chipped, it may compromise the stability of the new application. It is important to remove these problematic layers to create a uniform surface that promotes better bonding. Power washing is a highly effective method for preparing surfaces, as it eliminates contaminants and debris while also providing a mechanical advantage that aids in removing older paint.
Overall, properly preparing surfaces before painting leads to improved aesthetics and longer-lasting results. By investing time and effort into this initial stage, homeowners can significantly reduce the risk of paint issues, ensuring a beautiful finish that stands the test of time.
How Power Washing Works: The Process Unveiled
Power washing, also known as pressure washing, is an essential technique in preparing your home for painting. This method employs high-pressure water to remove dirt, grime, mold, and mildew from various surfaces, ensuring a clean foundation for paint application. The process begins with selecting the appropriate power washing equipment, which typically includes a power washer, a hose, and various nozzle attachments. Power washers vary significantly in size and power, ranging from electric models suitable for small tasks to gas-powered machines designed for more extensive cleaning efforts.
When choosing a power washer, it is important to consider the surface material you will be cleaning. For example, wooden surfaces generally require a lower pressure setting to avoid damage, while brick and concrete can withstand higher pressures. Most power washers feature adjustable pressure settings, allowing users to tailor the output according to the specific material and level of dirt. For wood, a pressure of around 1,200 to 1,500 psi is typically ideal, whereas brick and vinyl can be effectively cleaned at around 2,500 to 3,000 psi.
Safety is a critical aspect of power washing. To prevent injury, it is essential to wear protective gear, including goggles, gloves, and non-slip boots. Additionally, ensuring the area is clear of bystanders and securing any loose items can help mitigate risks. It is also vital to maintain a safe distance from the surface and to avoid direct spraying at electrical outlets or windows to prevent damage. Engaging in these safety measures not only protects individuals but also preserves the integrity of the home’s surfaces, leading to a successful painting project. With the right equipment, settings, and precautions, power washing can significantly enhance the preparation process for home painting.

Steps to Power Wash Your Home for Painting
Power washing is a critical step to preparing your home for painting, helping to remove dirt, mildew, and old paint to ensure a smooth application. The following steps will guide you in effectively using a power washer to prepare your home’s exterior.
First and foremost, begin with preparation. Clear the area around the house by removing any outdoor furniture, planters, and decorations. Ensure that you have easy access to all surfaces that require cleaning. This not only helps you maneuver the power washer effectively but also protects your belongings from water damage.
Next, cover any plants, shrubs, or delicate flowers within a close proximity to the house. Using plastic sheeting or tarps can prevent harsh cleaning solutions and debris from damaging your greenery. Similarly, cover windows and doors with plastic wrap or tape to protect them from getting damaged during the washing process.
Selecting the appropriate cleaning solution is vital. Depending on the heaviness of the dirt and grime, you may require a mixture of water with a specific cleaning agent. For instance, a solution containing bleach can help eliminate mold and mildew, while biodegradable detergents can be effective for general cleaning. Always read the manufacturer’s instructions for proper dilution ratios and ensure the chosen solution is safe for your home’s surface material.
When ready to wash, you’ll want to position the power washer nozzle at a slight angle, maintaining a distance of approximately 12 to 24 inches from the surface. Start from the top and work your way down, using even, sweeping motions. Ensure that you keep a consistent pace and avoid lingering too long on any one spot, as this could damage the surface. Pay special attention to corners and edges where dirt tends to accumulate.
After power washing is complete, let the exterior dry thoroughly before commencing any painting work. This step ensures a clean and properly prepped surface for a flawless paint job.
Post-Power Washing: What to Do Next
After completing the power washing process, it is crucial to allow sufficient drying time for the surfaces of your home. Depending on the weather conditions, this can take anywhere from a few hours to a couple of days. Ensuring that everything is thoroughly dry prior to moving forward with any further preparations is essential, as moisture can lead to issues such as peeling paint or improper adhesion of new coatings.
Once the surfaces are dry, conduct a comprehensive inspection of the areas that will be painted. Look for any signs of damage, including cracks, peeling paint, or rot, as these issues need to be addressed before applying new paint. Repairing any surface imperfections is vital; it guarantees a smooth and professional-looking finish that not only enhances the aesthetic of your home but also extends the longevity of the paint job.
During your inspection, evaluate whether additional prep work is necessary. In some cases, you may find that sanding, scraping, or applying a primer is required to achieve the best results. Primers are particularly significant for surfaces that have been damaged or where the old paint is in poor condition. Additionally, they serve to create a uniform base for your new color, allowing it to adhere better, thus improving durability.
As you prepare for painting, gather essential tools and materials. Investing in high-quality brushes, rollers, drop cloths, and painter’s tape will significantly contribute to a successful painting project. Proper preparation and the right equipment can make a substantial difference in the final outcome. With all necessary steps taken and supplies on hand, you will be poised to embark on the exciting task of transforming your home’s exterior with fresh, vibrant paint.